Fall Bench Project Procedure (2/2)
Elements:
- 24 2-inch screws
- 12 heavy duty wood screws
- 1 pint of yellow water-proof paint
- 1 pint of red water-proof paint
- A couple pieces of sandpaper
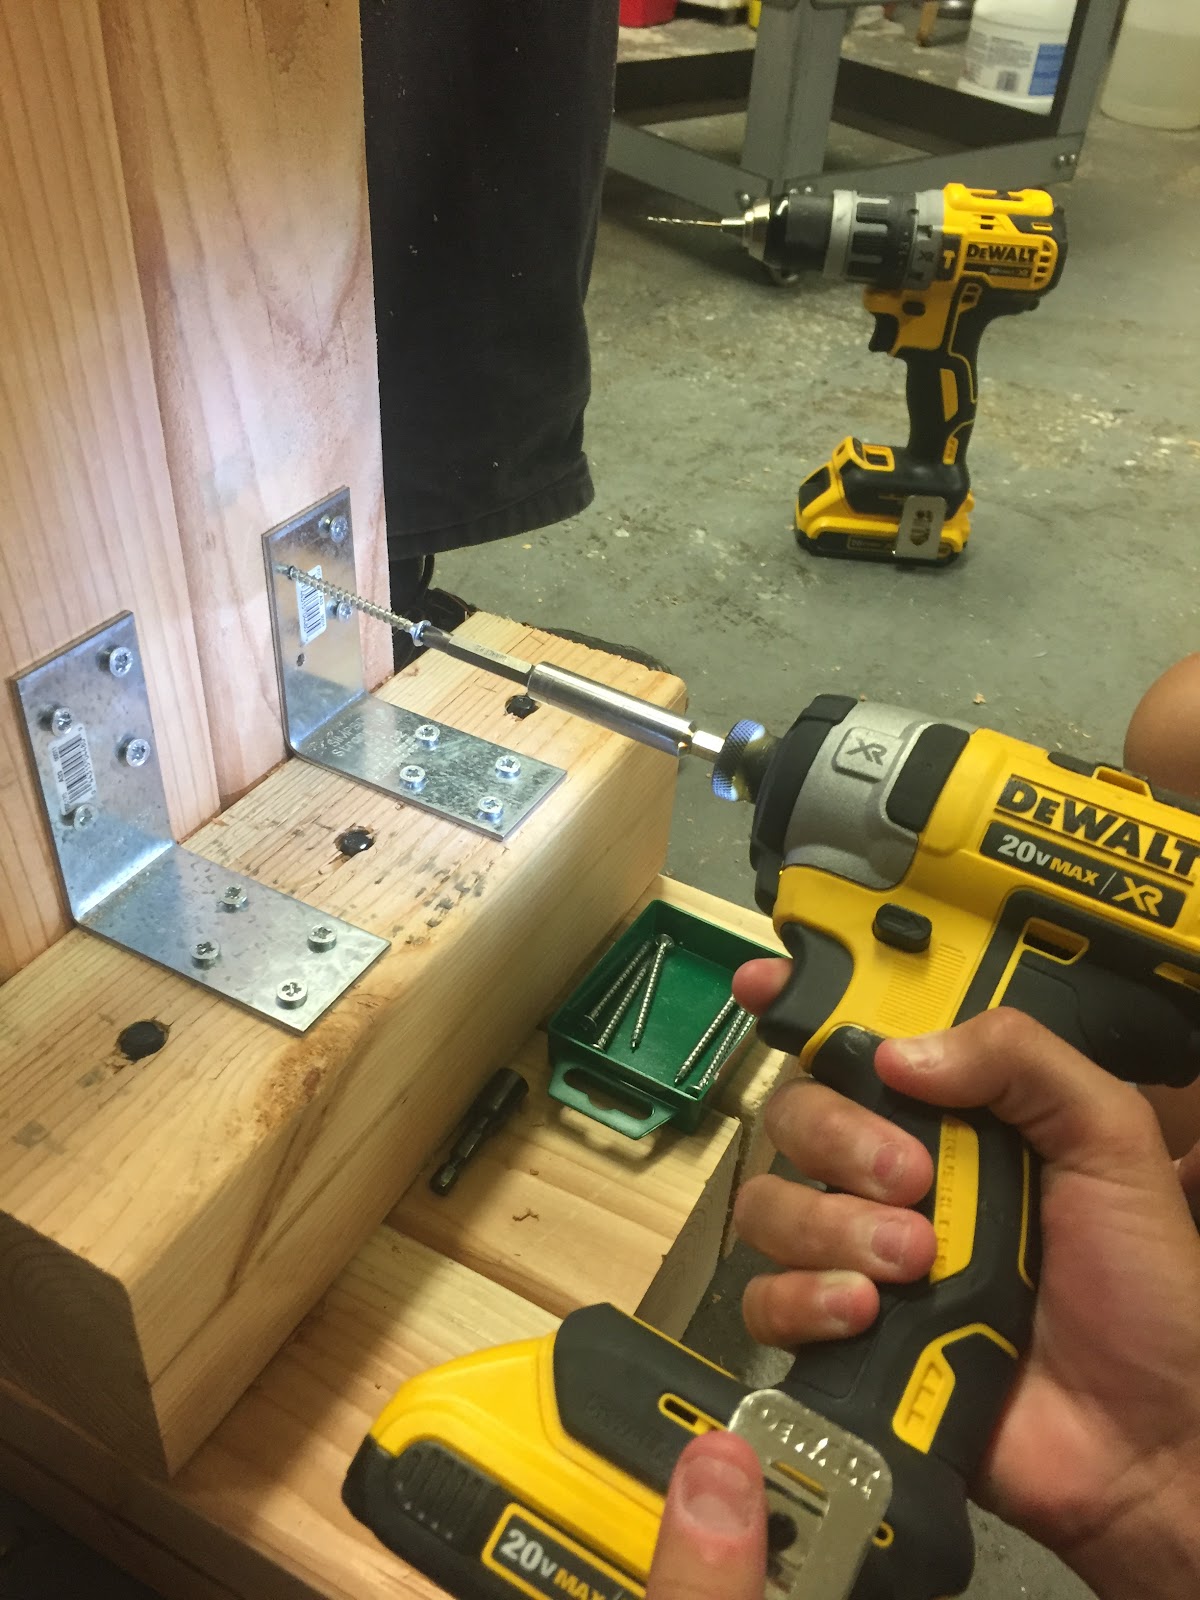
- A power drill + drill bits (various sizes)
- 3 4-inch x 4-inch x 8-ft plants of wood cut down to various sizes
- 2 aprons (so we don't get paint on our clothes)
- 2 paper plates
- Many sheets of newspaper
- 4 metal brackets
Procedure:
- We began by planning out what we wanted to do. How big would the bench be? How small? How many people would fit in it? What would our budget be? Those kinds of questions were the ones we asked.
- We then looked up for easy woodworking demonstrations on building benches and etc. We found a relatively cheap DIY that we could do, and started to plan out dates we could build it.
- We split up and bought the needed supplies.
- We then measured out the right measurements for the bench and marked them on the wood. After, we placed the wood into place.
- Next was the fun part. With the help of Sydney's dad (a pro with power tools) we slowly but surely learned how to handle a power drill carefully and safely. We drilled the screws into brackets and the wood.
- Once we were done with the drilling, we began to sandpaper the completed bench due to the large amount of splinters. Then we dusted off the sawdust so it wouldn't get caught in the paint.
- We went for our beautiful school colors, red and gold. We first began painting the entire bench a light marigold color, and after added in with some fun red designs.
- After that, our bench was complete!


Comments
Post a Comment